

Posted 16:19 August 21, 2023
Last Updated 17:43 September 02, 2026
Home Maintenance Tips
How to Remove Old Caulking in Las Vegas Bathrooms
A step-by-step guide for Las Vegas, Henderson, and North Las Vegas homeowners — plus when to call a professional plumber.
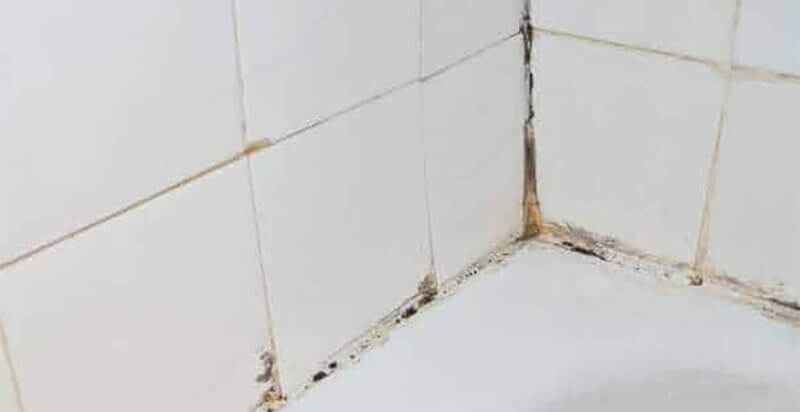
Old, cracked, or moldy caulking in your Las Vegas bathroom is more than an eyesore — in Clark County's hard water environment, failing caulk around tubs, showers, and sinks can lead to water damage, mold growth, and costly plumbing repairs. Whether you're refreshing your bathroom yourself or preparing for a professional plumbing service from All Trades, follow this step-by-step guide to safely remove old caulking without damaging your surfaces.
Materials and Tools You'll Need
- Utility Knife or Razor Blade — to carefully cut and scrape the old caulking
- Caulk Softener or Remover — chemical solutions designed to dissolve caulk for easier removal
- Heat Gun or Hair Dryer — helps soften and loosen stubborn caulk
- Plastic Scraper or Putty Knife — gently scrapes softened caulk without damaging surfaces
- Isopropyl Alcohol — cleans residue and prepares the surface for new caulking
- Gloves and Eye Protection — essential safety gear when working with chemicals and sharp tools
The Process
Step-by-Step Caulk Removal Guide
1
Preparation
Ensure good ventilation in your Las Vegas bathroom by opening windows and running exhaust fans. Put on gloves and eye protection before starting. If working on a vertical surface, place a drop cloth or plastic sheet underneath to catch falling debris and protect your floors.
2
Soften the Caulk
Apply a caulk softener or remover following the manufacturer's instructions — typically you'll apply the solution and allow it to sit for a few hours. Alternatively, use a heat gun or hair dryer to gently warm the caulk and make it more pliable. Be careful not to overheat the surrounding tile, grout, or fixture surfaces.
3
Cut and Scrape the Caulk
Once softened, use a utility knife or razor blade to carefully cut along both edges of the caulk, creating a clean separation between the caulk and the surfaces it's adhered to. Then use a plastic scraper or putty knife held at a shallow angle to gently lift and scrape the softened caulk away — avoid pressing too hard to prevent scratching tile or fixture surfaces.
4
Repeat as Needed
Depending on the thickness and condition of the old caulk, you may need to repeat the softening, cutting, and scraping steps multiple times. Patience is essential — take your time to remove the caulk thoroughly without rushing and risking surface damage.
5
Clean the Surface
After removing the old caulk, use isopropyl alcohol and a clean cloth to thoroughly wipe down the area. This removes any remaining adhesive residue and prepares the surface properly for new caulking — an important step that ensures your new caulk bonds correctly and lasts longer.
6
Apply New Caulk (Optional)
If you're re-caulking the area, ensure all surfaces are completely dry and clean before applying new caulk — this is especially important in Las Vegas where bathroom humidity can linger. Follow the instructions on your new caulk tube for proper application technique and required drying time before exposing the area to water.
Need Professional Plumbing Help in Las Vegas?
If you encounter stubborn caulk, discover underlying water damage, mold growth, or plumbing issues behind your bathroom walls, don't attempt to handle it yourself. Contact the licensed plumbing professionals at All Trades — we service Las Vegas, Henderson, North Las Vegas, and Boulder City throughout Clark County, Nevada.
Contact Us Today →